Saturday 30 October 2010

Module 1 - finished 3d design and project


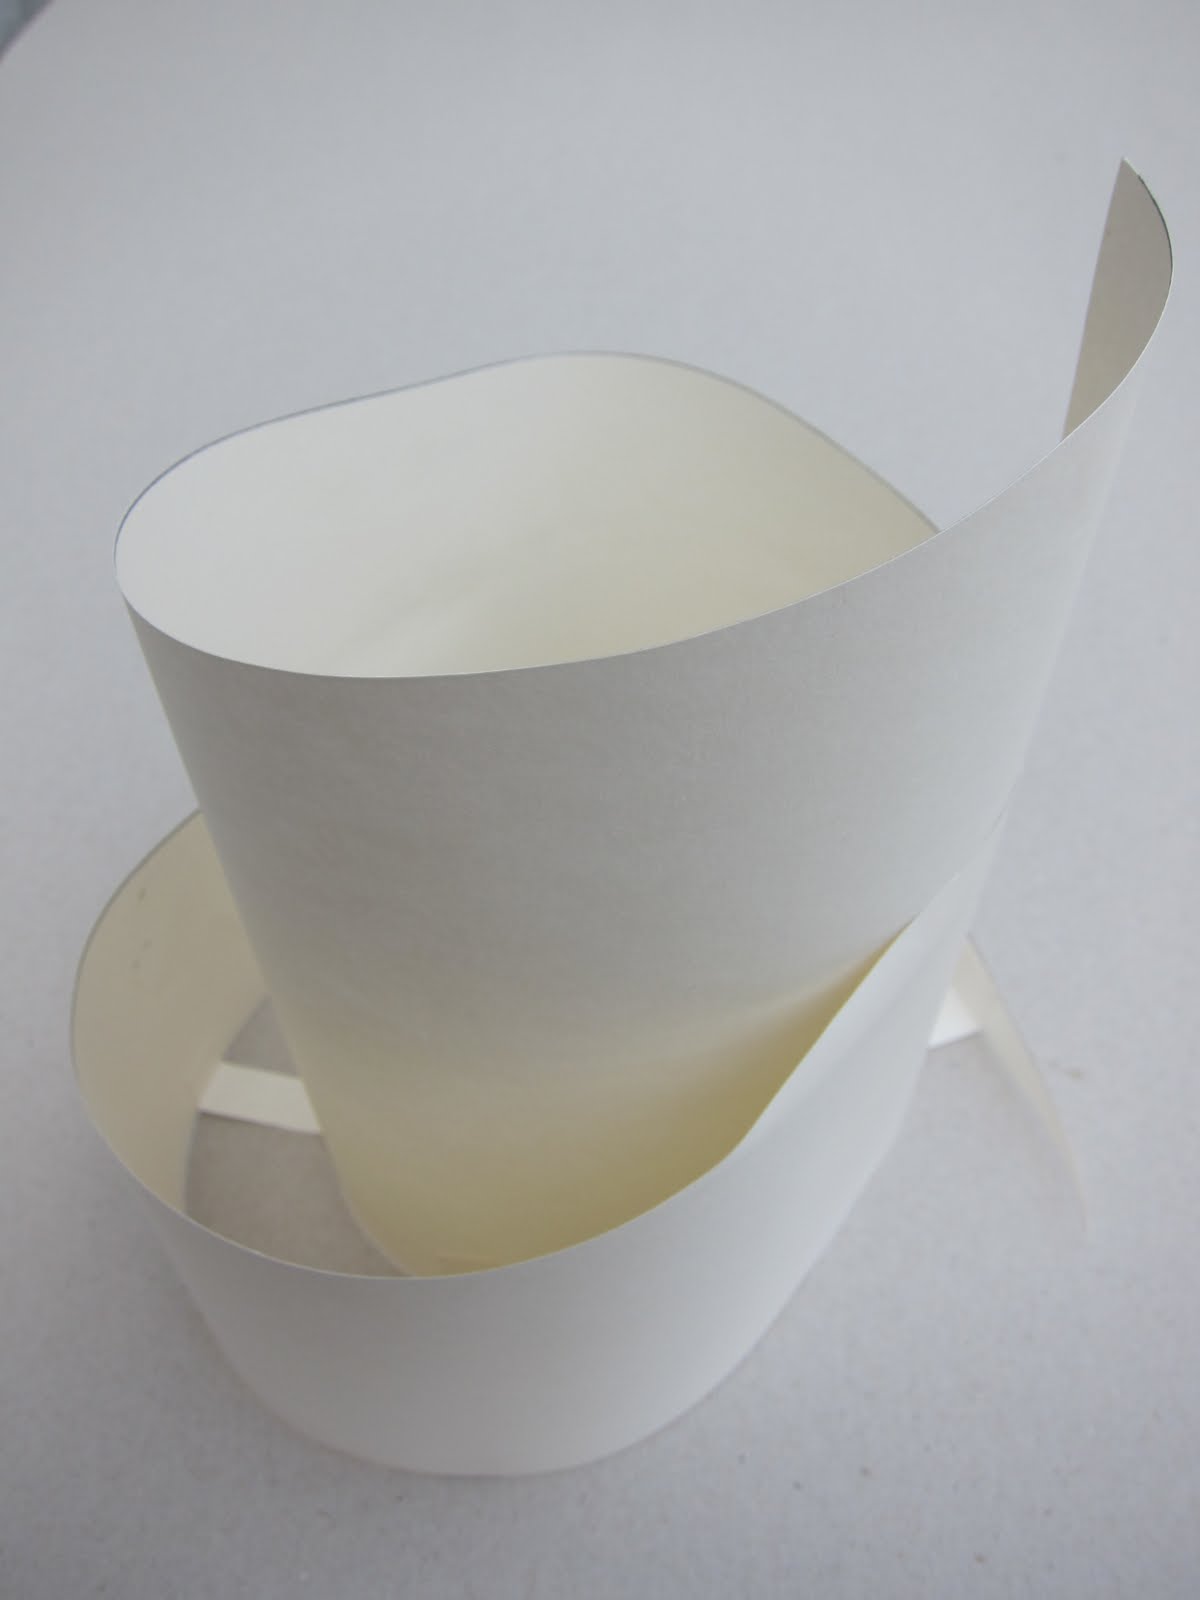
This the inside and outside of the final piece.

 Overall I am pleased with it as it is brightly coloured, fit for purpose as a treasure chest. The down sides are that the raw edges to the strips are quite fragile and will need some care. It would not be suitable to be used as a standard toy. I like the dimensions as it is striking and the little pyramids are big enough to house an item. I am happy that this is a close representation of the paper mock up and in particular that the sides have the same strong reinforced quality that stops it looking too floppy. I think it is a good contrast that the little pyramids have a softer appearance.

 I tried it with further layers of pyramids but it became very 'busy' and I like the effect of finding little brightly coloured jewels in the bottom of the large pyramid.


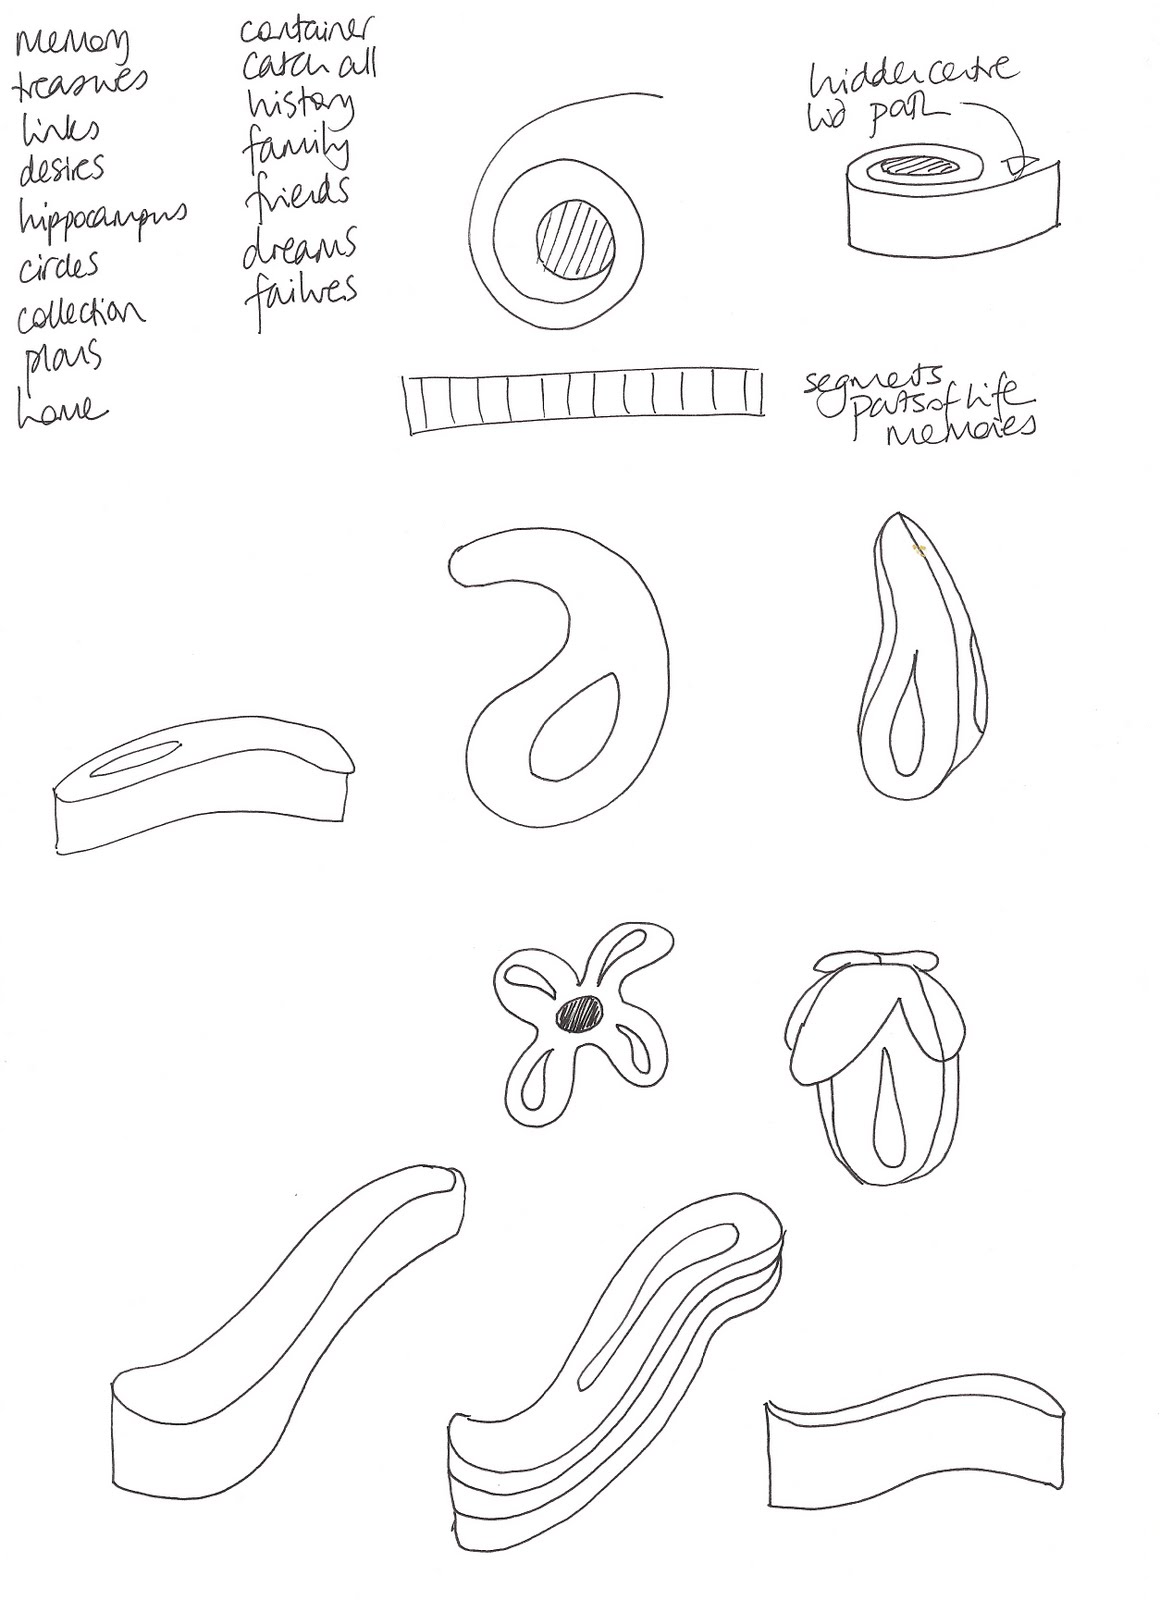
I wanted to create 'pockets' inside the pyramid in which to hide little family treasures for a child to find. Initially I planned to make fabric pockets but I didn't like the effect. In the end I decided to make a number of small pyramids using 2 different layers of the stiffened fabrics. The apices were particularly difficult to finish neatly so I topped them all with a bead or two. Each pyramid measures approx. 8cm high. These fit neatly into the base of the pyramid as each is a geometric fraction of the original. The pyramids have a different colour lining but the photo doesn't show this very well. Each has an opening along one side allowing you to place an object inside.


It was serendipity that one of the sides was a little shorter than the others so that when it closed up it fits neatly into the apex made by the other 2 sides and miraculously stays there!

               
 I have decided to use this pyramid as a memory box which I could pay with with children in the family . I wanted to create a container so I joined 2 of the sides using ladder stitch. The blue lining shows as an edging to the side panel as in the paper mock-up         


As the seams were too thick with any other technique, I laced the fabric on to the card shapes then applied a dark blue fabric to the reverse as a lining. The base was covered in a plain piece of fabric, edged with a machined cord, and the sides ladder stitched to the base.  


On Sian's advice I increased the size of the pyramid by half again and the completed piece measures 37cm high and 25cm across each side of the base. I made a net and cut card to fit. I made a sheet of fabric to cover each piece using fabric backed by iron-on heavy weight vilene. Each strip was cut and overlapped on the stripe above. The silk tended to fray more than the cotton so in places I overlapped both edges. I did try normal seams for the strips and edging them in order to reduce the fraying, but the former was too bulky and the latter rather fussy and ugly. I used cotton floss in a matching colour to join the strips together. Having tried a few methods I used reverse applique by cutting tiny windows in the strips and backing the gaps with small pieces of different coloured fabric. I other areas I used small blocks of satin stitch or star shaped stitches.
So now I hand dyed a range of cottons, linen and silk satin to the required colours. I also used a couple of bought fabrics in order to complete the colour range. This is a selection of fabrics used.

paper and card mock-up

colour study

Well at last I have finished the 3d project agreed with Sian at summer school! I have continued with the idea of a pyramid but changed the surface design and worked out the technicalities. I liked the colours from my colour study and the stripes of colour, plus they reminded me of the Mayan pyramids in Mexico which In was lucky to visit as a child. I made a mock up in card and paper to look at the idea and liked it! I decided to change the order of each stripe and square on each of the 3 sides and chose not to have the stripes matching at the sides in order to make the eye stop to look. I lined the pieces with dark blue and liked the way this showed as an edge along each piece. Sian was happy with this so I set about making it up in fabric.

Monday 31 May 2010

Chapter 12 continued - more 3D ideas


1.12.31
1.12.30
1.12.29
1.12.28
1.12.27
1.12.26
The next are sheets of some further ideas for Sian to consider.
1.12.25
I am going to try this out using my 2D coloured designs.
1.12.24 I repeated this using 2 of these shapes. I like this simple vessel shape, especially the negative space formed in the centre of the base.
1.12.23
1.12.22 My next trial was using a simple version of the curved shape.
1.12.21 I repeated this idea with 2 shapes separated by a deeper layer.
1.12.20  tried this shape stacked with layers separated by spacers. This distorted very badly as I made it.
1.12.19 I liked these interlinked but I am not sure how I could use this design.
1.12.18
Next I tried stacking a few of the hippocampus based shapes. I increased the size of the inner cavity again to be nearer to the original. I found it difficult to create any kind of a stack as the shapes were so thin!
        
1.12.17
1.12.16
Following Sian's comments I have tried some new ideas. Firstly I repeated the spiral wrap with uneven folding and some reverse folding in order to make it irregular and echo the folded myelin sheaths more closely. I like this but not sure it counts as a functional 3D object.

Friday 21 May 2010

Ideas for 3D functional item


1.12.15
1.12.14
1.12.13
1.12.12
I tried a different coiled shape , this reminded me of an image of coiled neurons from my sketchbook. This would not make a container but could be used to store items say in small pockets along the lines of a jewellery roll. The vertical sections would fit well with the repeating design patterne I created in chapter 11.
1.12.11
1.12.10
I also wondered about a coiling shape but without a lid so I tried this shape. Not so sure this goes with my theme but the fabric I could make for this could carry the hollow tear drop shape in the design.
1.12.9
1.12.8
1.12.7
At the prompting of Maggie I tried the tear drop as a vertical container that looks like a peeled banana when open! This was quite tricky to make out of paper but would be fine in fabric.
I made another sheet of ideas. 1.12.6
1.12.5
This is a practical shape and sturdy enough to use as a container. However it doesn't show the original shape properly as it is not a solid tear drop shape. I have tried cutting out the central section to reproduce the shape more accurately. As this would take away from the box idea I have tried filling the space with a layer of translucent tissue paper.


1.12.4
1.12.3
1.12.2
I tried one of the ideas in paper, firstly a tear drop shape. 
1.12.1
I have been looking at possible ideas using the theme of memory. I would like to make a container in which to keep special items. I have used the shape based on the hippocampus which is the area of the brain involved in the making of our memories. This is essentially a teardrop shape.